I seldom print anything — because of my bad eyesight — I scan more often. For both tasks, I use a Canon Pixma MG6200, an all-in-one that works through WiFi and USB (I use it WiFi only). I also use a SnapScan Fujitsu, but I haven’t yet tried to use it under Manjaro.
Since I had a hard time making the Pixma work, aka a hard time figuring out what to do, what app to use, which docs were relevants and which weren’t, here it goes.
Adding the printer
- Turn the printer on, and regularly check it doesn’t go to sleep — yeah, I know: silly. But believe me, this thing can fall asleep faster than you can type
sudo. - In the shell do a
sudo pacman -S system-config-printer, in order to install a graphical interface over CUPS, the printing service that was already installed on my Manjaro: dumb me simply failed at configuring CUPS through the command line. - To install the drivers for this printer, I did a
sudo pacman -S cnijfilter-mg6200(they are in AUR repo) — do an online search to check if there are specific drivers for your own printer. - Launch the Print Settings app, the brand new pretty GUI for CUPS we just installed, and click Unlock, to identify as a super user.
- Click Add. In the new window, in the sidebar, click the Network printer and wait for your printer to show up.
- When the printer appears, select it and Click Forward. If you have not already installed a driver, the app should ask you to select a driver in a list. If not, you’ll directly be led to the next step: giving your printer shorter name. Validate.
- Is it done? In theory, yes. You should be able to print. But…
…In my case at least, I find CUPS (and the GUI we installed) to be somewhat bugged:
- I could not, for the life of me, manage to print a Test page from printer settings. The app seems to insist on making the printer use its optional back paper-tray, instead of the main one — even if you tell it not to use it. To do a test print, use any other app.
- Also, by default, it was configured to use Photo Paper instead of normal/cheaper paper, and wanted to use Letter sized paper.
To change that, double-click on your new printer icon, in the GUI, and click the Printer Options.

Set Media Size to whatever paper you use, Media source to Main (or Automatic) to define which paper tray it should use, and set Media Type to Stationery to print on standard paper.
That should do it.
Adding the scanner
- If not already installed, install sane.
- As a super user, open your Pixma config file:
sudo nano /etc/sane.d/pixma.confand add its IP address in this format:bjnp://192.168.1.40— change the IP address for the one your printer-scanner is using but it should be a single line starting with ‘bjnp://’. To find find its IP, look in the printer settings app: click your pinter and go to Settings Device URI. If it doesn’t show the IP, click the Change button to see if there is more info available. - Save the pixma.conf file. To check if the scanner is identified, use the
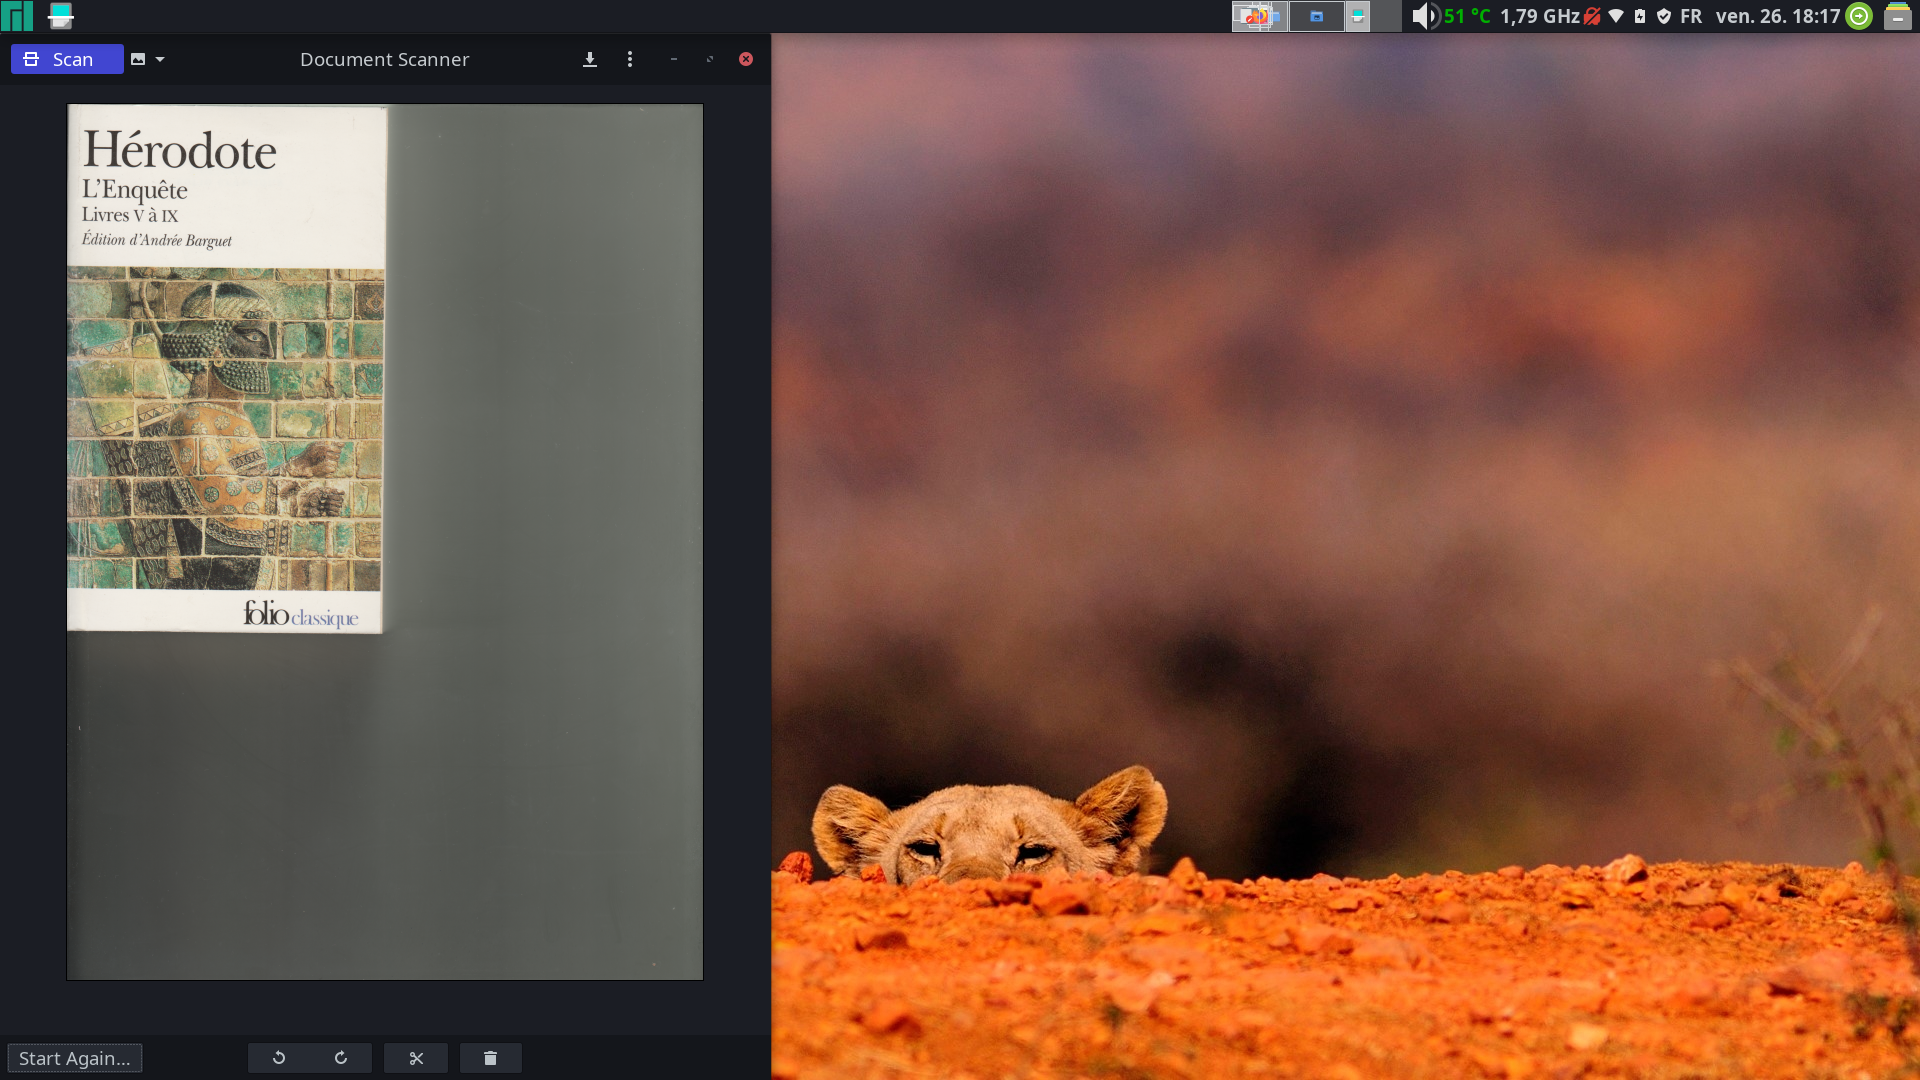
scanimage -Lcommand. It should output some stuff about your scanner. In my case, after too may failures, it finaly said:device pixma:MG6200_192.168.1.40' is a CANON Canon PIXMA MG6200 multi-function peripheral. - Install a scanner app to, you know, scan documents. Document Scanner (
sudo pacman -S simple-scan) is more than enough for me, but there are others more sophisticated apps. - Done. You should be able to connect to your scanner and use it — yeah!
Sources
Of all the docs I’ve read, those were the most informative and useful: